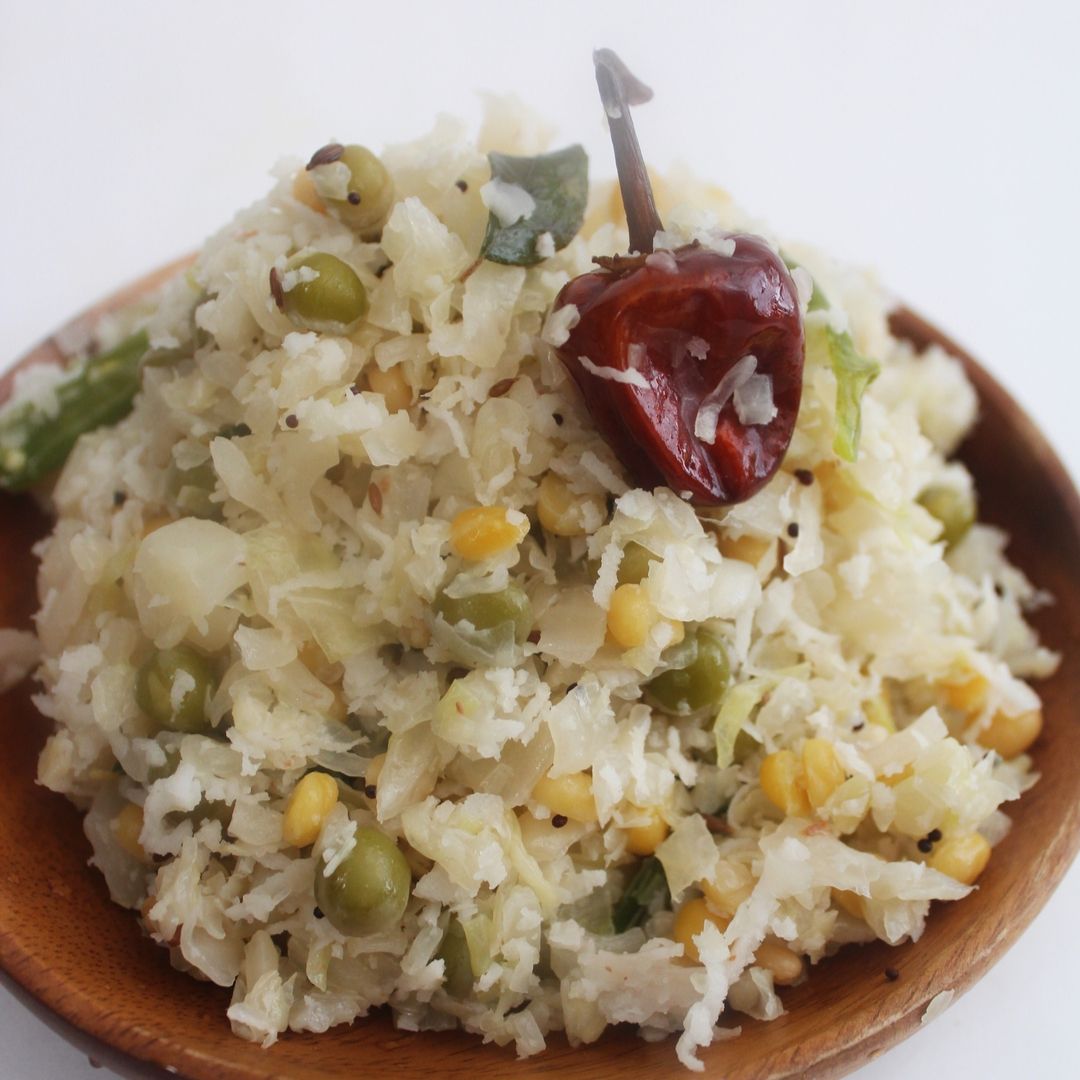
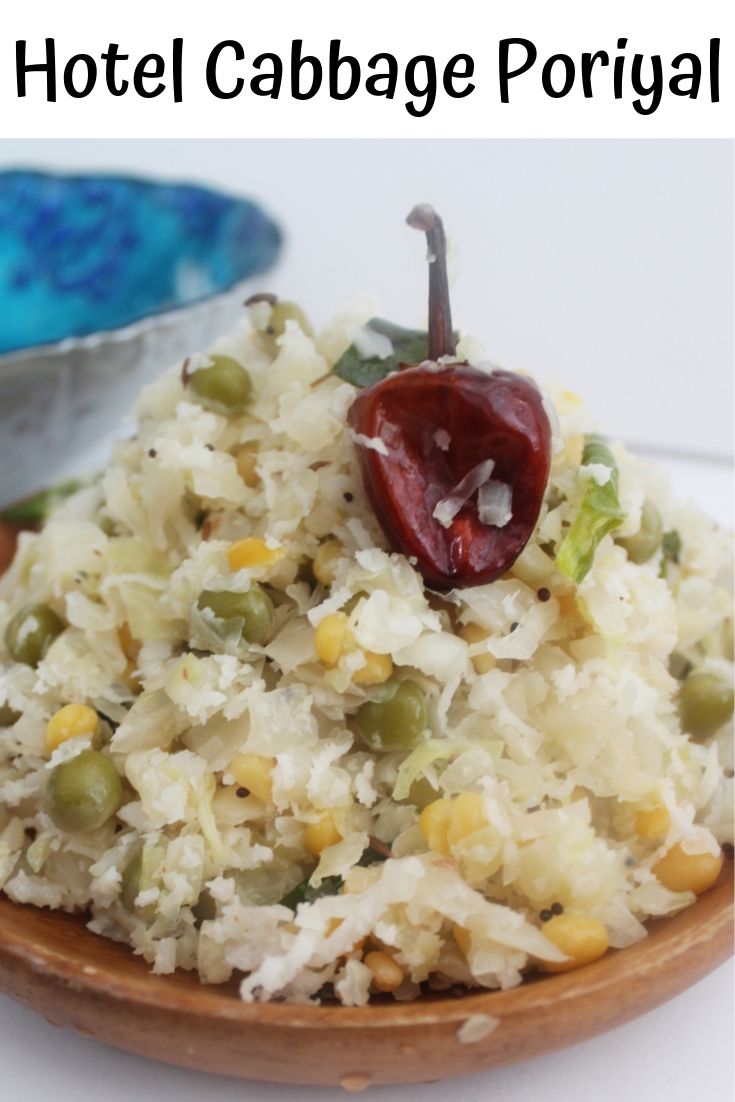
Cabbage Poriyal has become my family’s recent favorite side dish for rice. It is so tasty light and healthy and, most importantly, easy to make during the busy mornings. The only time-consuming part of this cabbage poriyal recipe is grated coconut. Yes, it requires a lot of finely grated coconut. But if you follow the method I have shared in this video here, then you won’t be stressed.
I have made this cabbage poriyal very recently. Honestly, none of us prefer cabbage poriyal in our home. We buy cabbage for fried rice and noodles. So we always have some leftover cabbage in the fridge. One day, I was adamant that I want to make use of the whole cabbage. At the same time, I decided not to make typical South Indian Cabbage poriyal. Suddenly, I remembered the delicious cabbage poriyal I had years ago on a wedding feast in India. I guess it was a brahmin’s wedding. I have also had it a couple of times in the small vegetarian hotels in Chennai. The taste stuck on my tongue So Successfully, I could able to replicate the cabbage poriyal recipe. Here I am sharing with you all our recent favorite hotel-style cabbage poriyal recipe. Instead of cabbage, you could also use broad beans(valor).
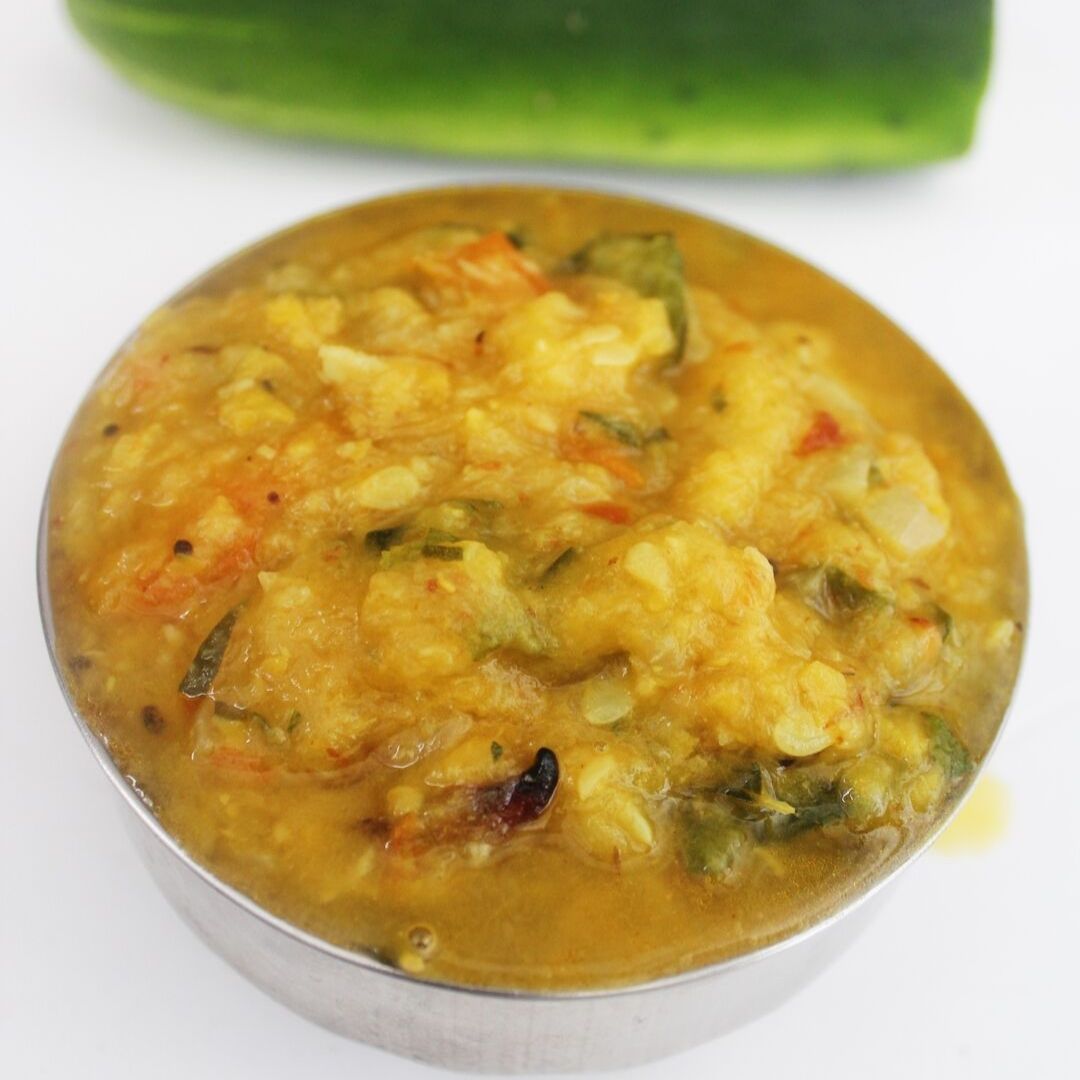
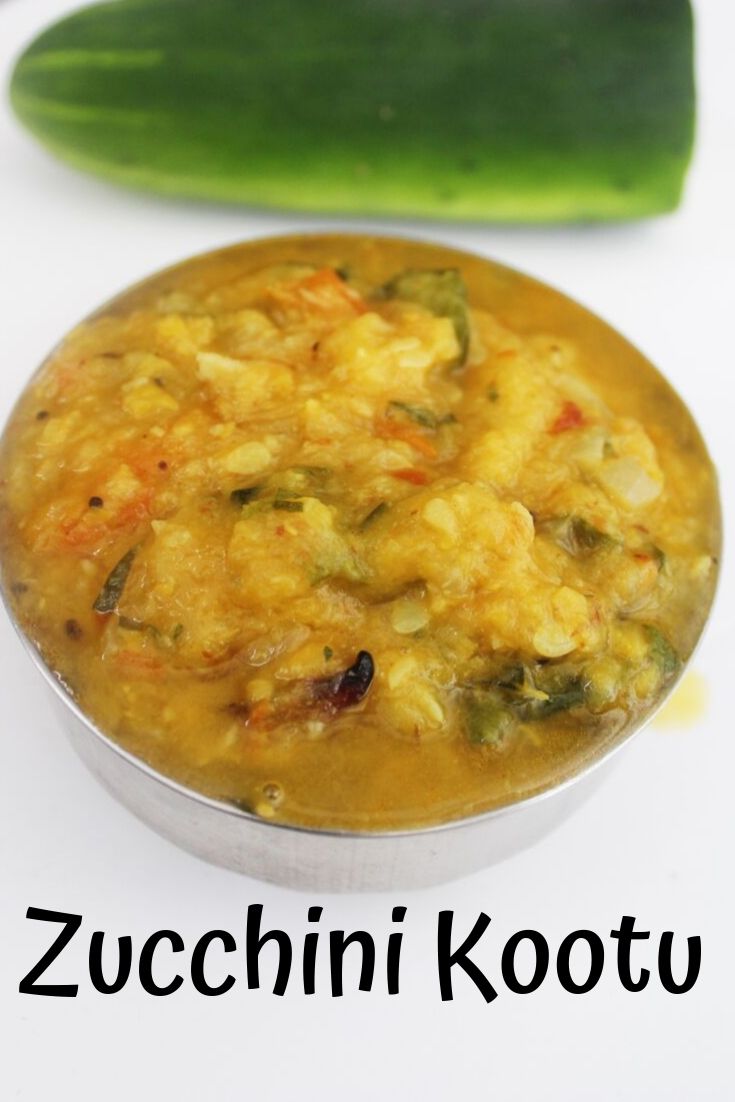
You may also like another healthy recipe made with zucchini, please check the recipe here.
Checkout my favorite products here.
Ingredients:
- 500 grams of cabbage – finely chopped
- 3 tbsp cup of dry green peas
- 3 tbsp of channa dhal
- 1/4 tsp of urad dhal
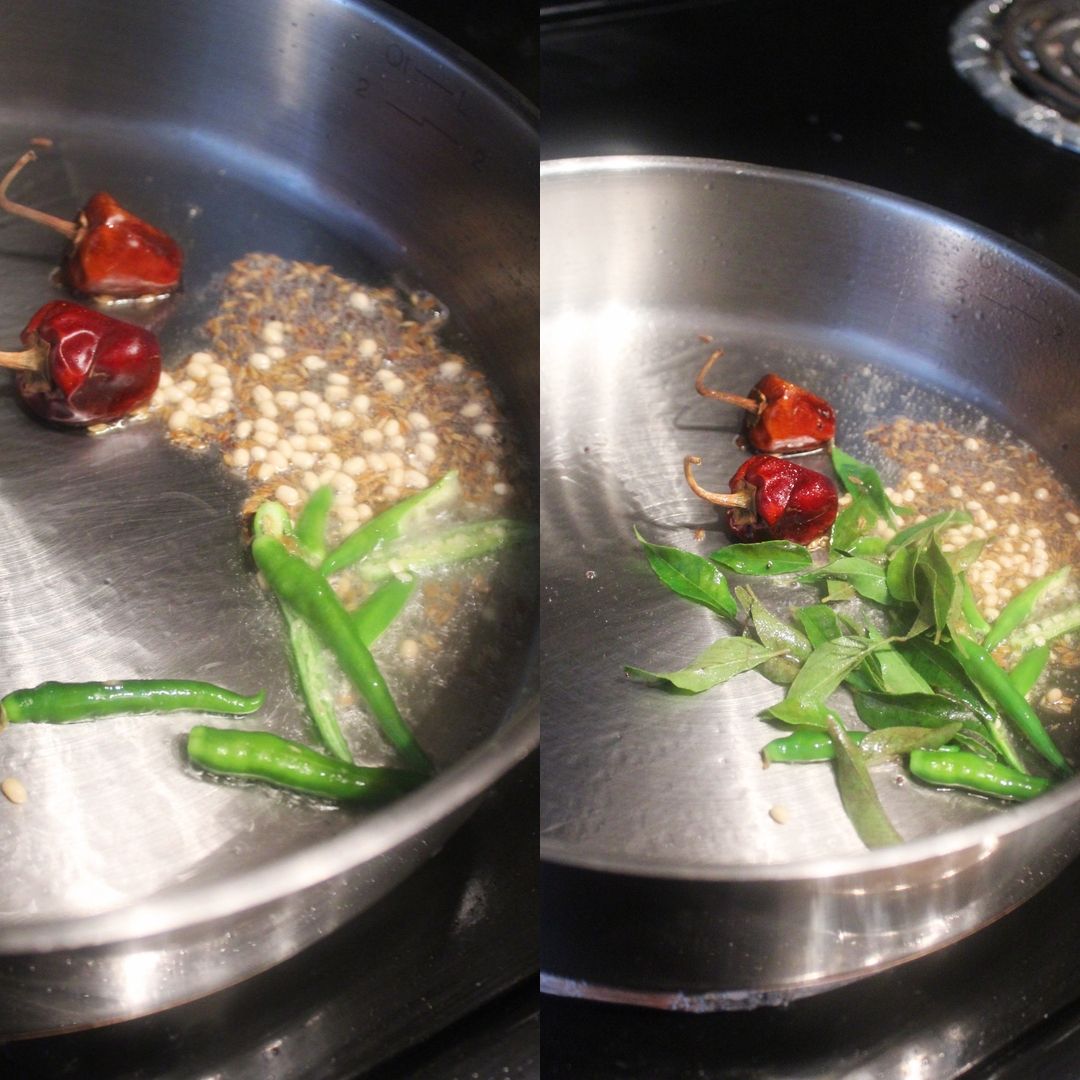
- 20-curry leaves
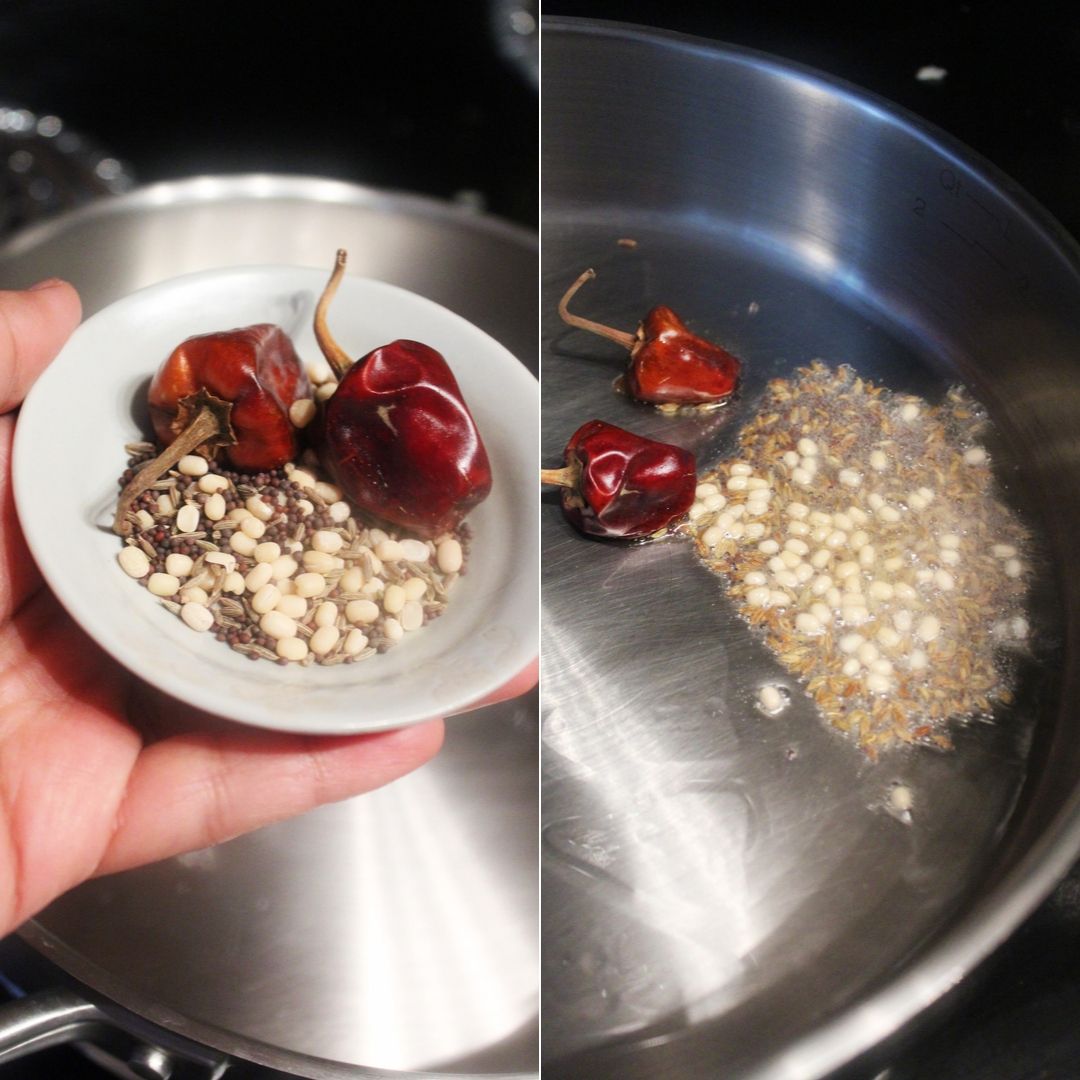
- 1/4 tsp of mustard seeds
- 1/4 tsp of cumin seeds
- 5- medium-size green chili – vertically cut(adjust to taste)
- 2- short red chili
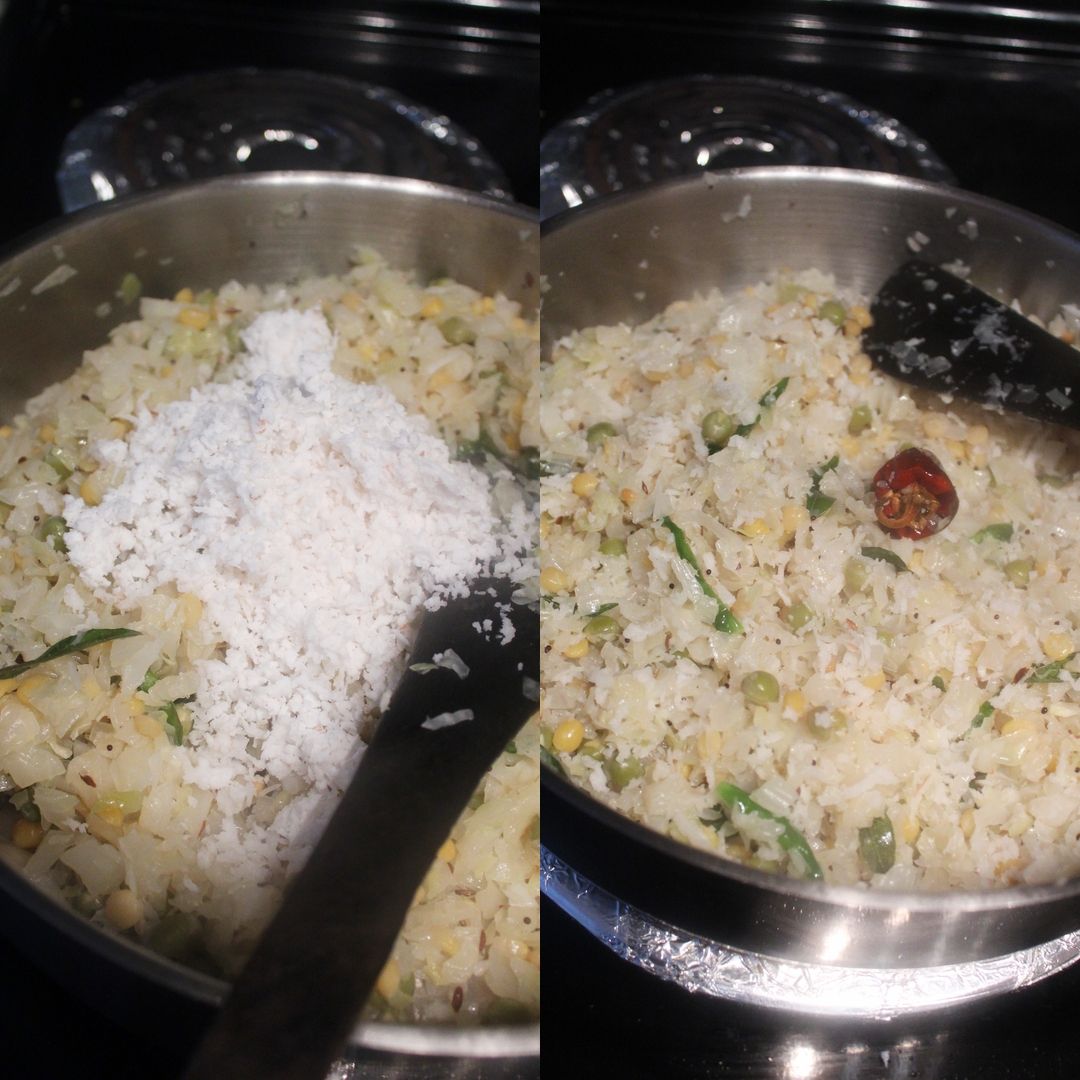
- 3/4 cup of finely grated coconut(use only the white part of coconut)
- 1/2 cup of water
- 1 tbsp of coconut oil
Procedure:
Step 1 :
- Wash and soak the dry green peas and channa dhal in the water overnight. The water level should be 2 inches above the dhal.
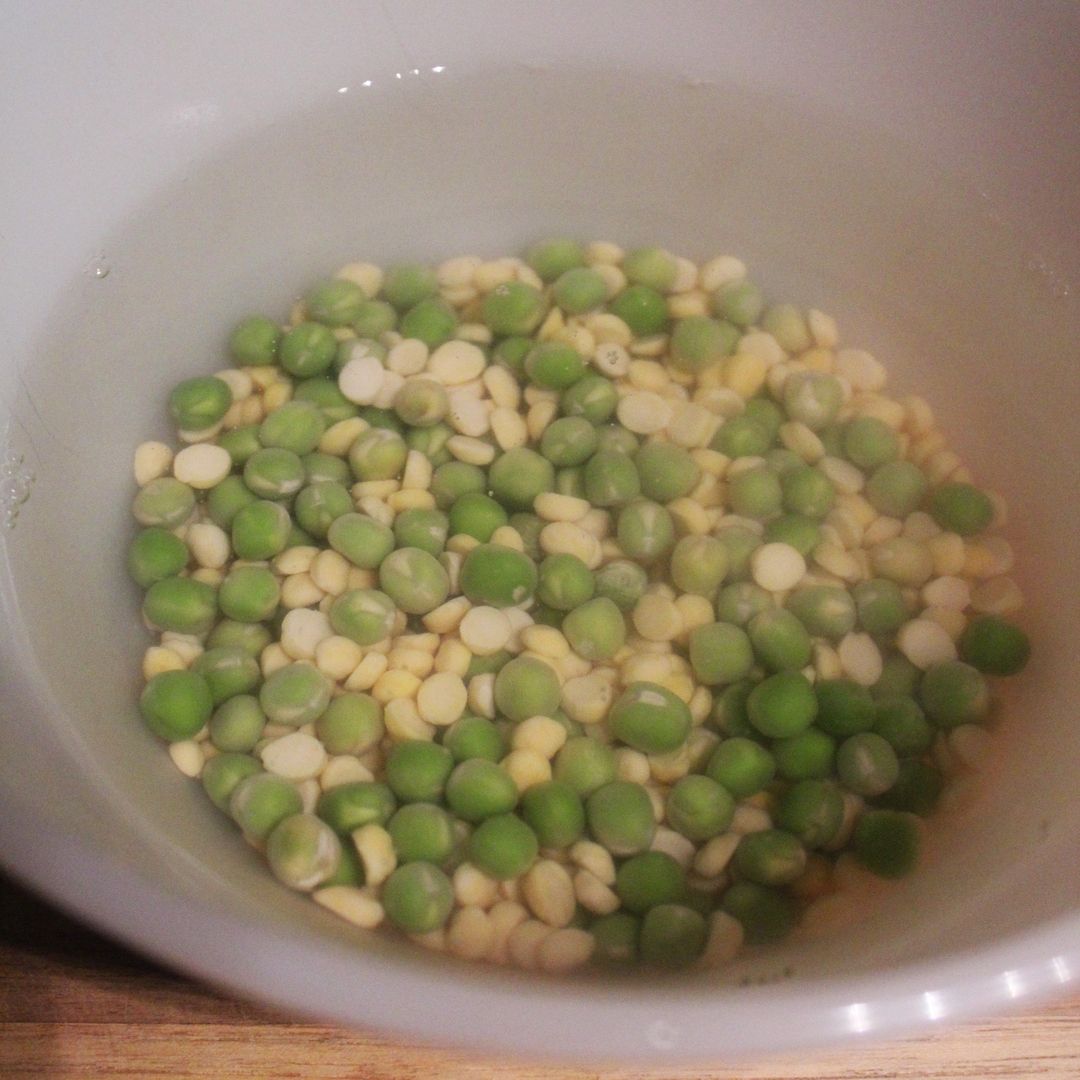
2. If you’re using fresh green peas then, just soak the channa dhal. However, I recommend using dry green peas because that adds a nice texture to the cabbage poriyal.
Step 2:
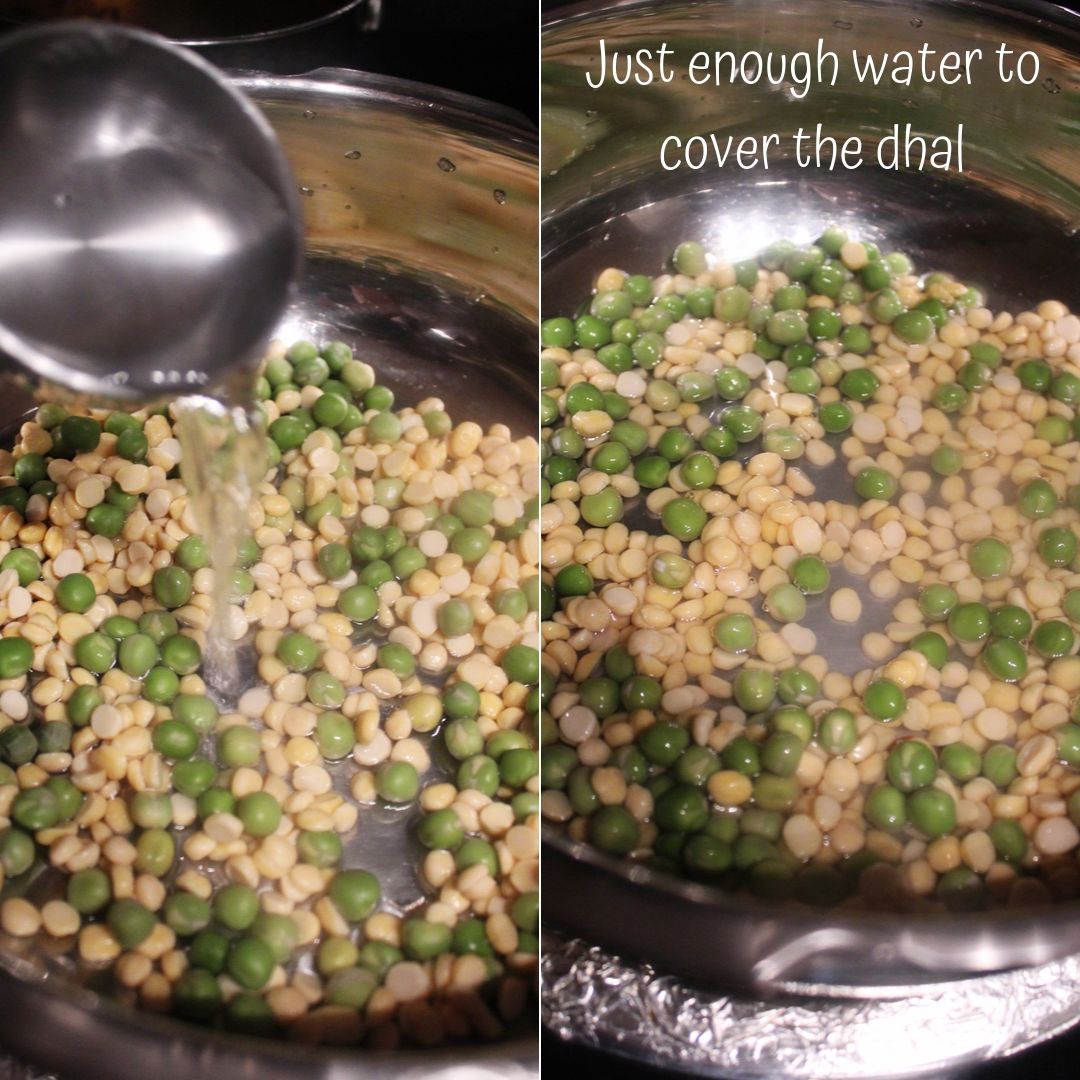
- Drain the soaked dhal and peas. Add them to the pressure cooker. Add water just enough to cover the dhal and peas. I use half cup water for the given measurement of cereals.
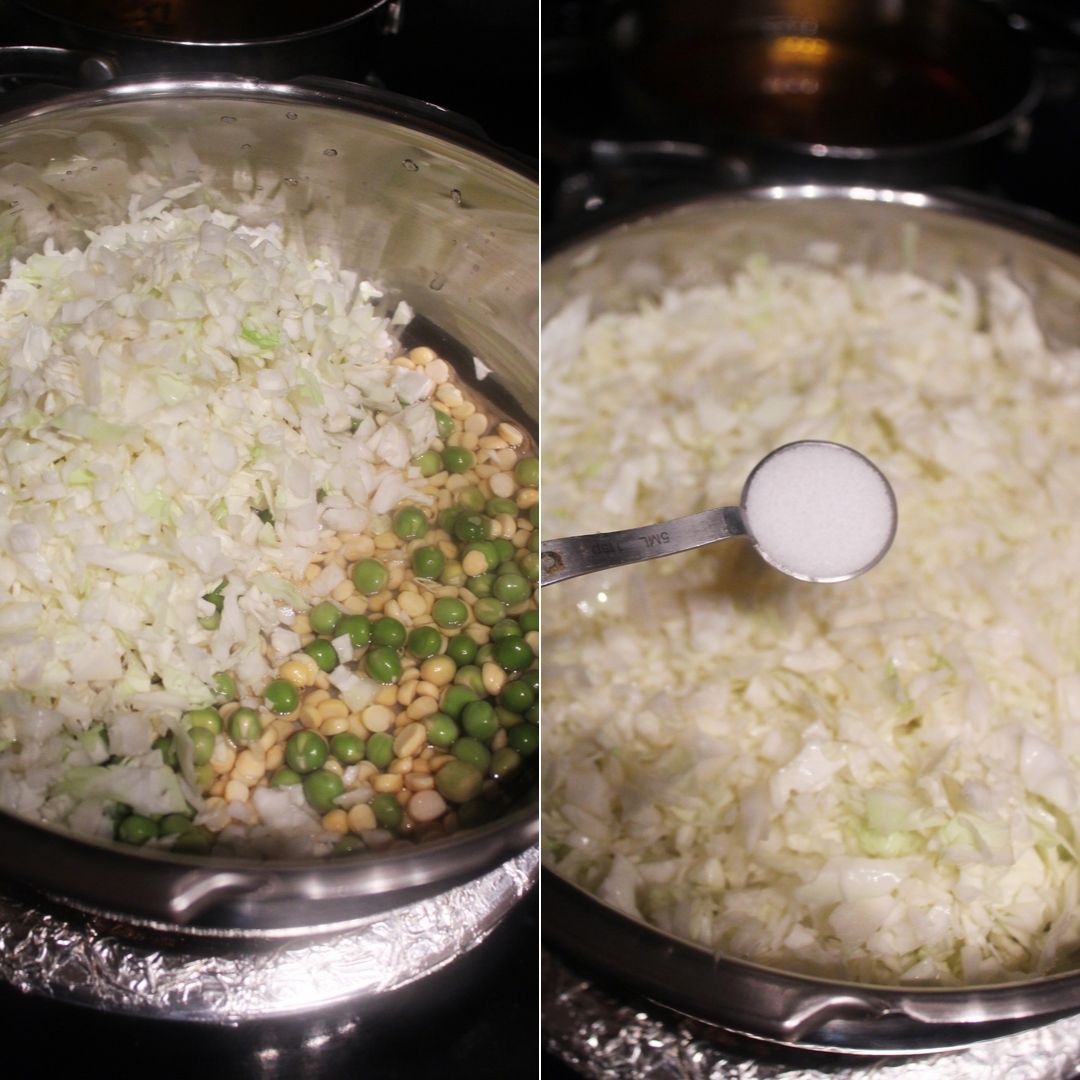
2. Add in the chopped cabbage and sprinkle some salt to the cabbage. Gently mix the cabbage but, make sure not to disturb the dhal at the bottom.
3. Cover the cooker with the pressure cooker lid and fix the whistle.
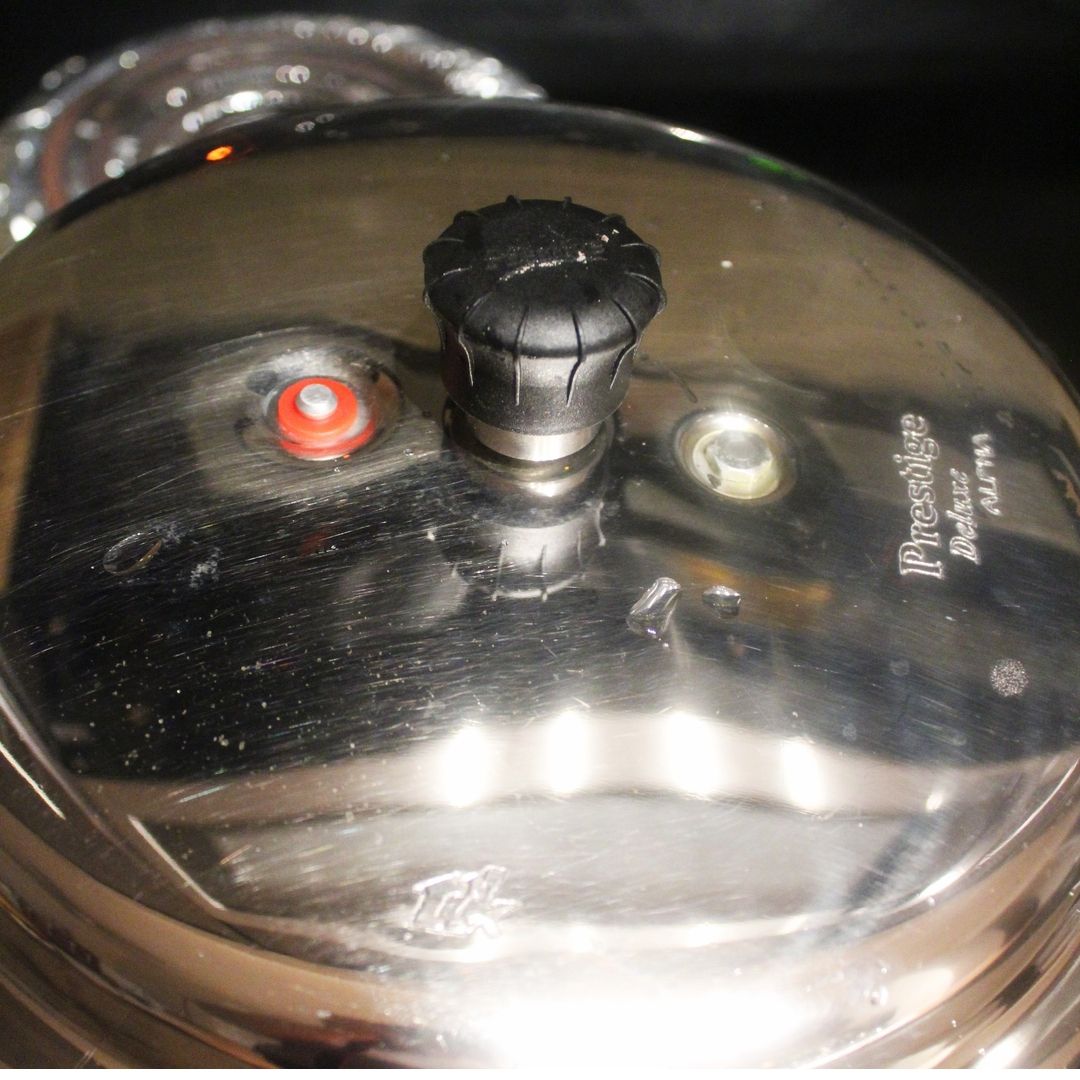
4. Turn on the stove and let the cabbage cook until the pressure builds up about 20 minutes. Everybody’s cooker is different so you may need less or more time.
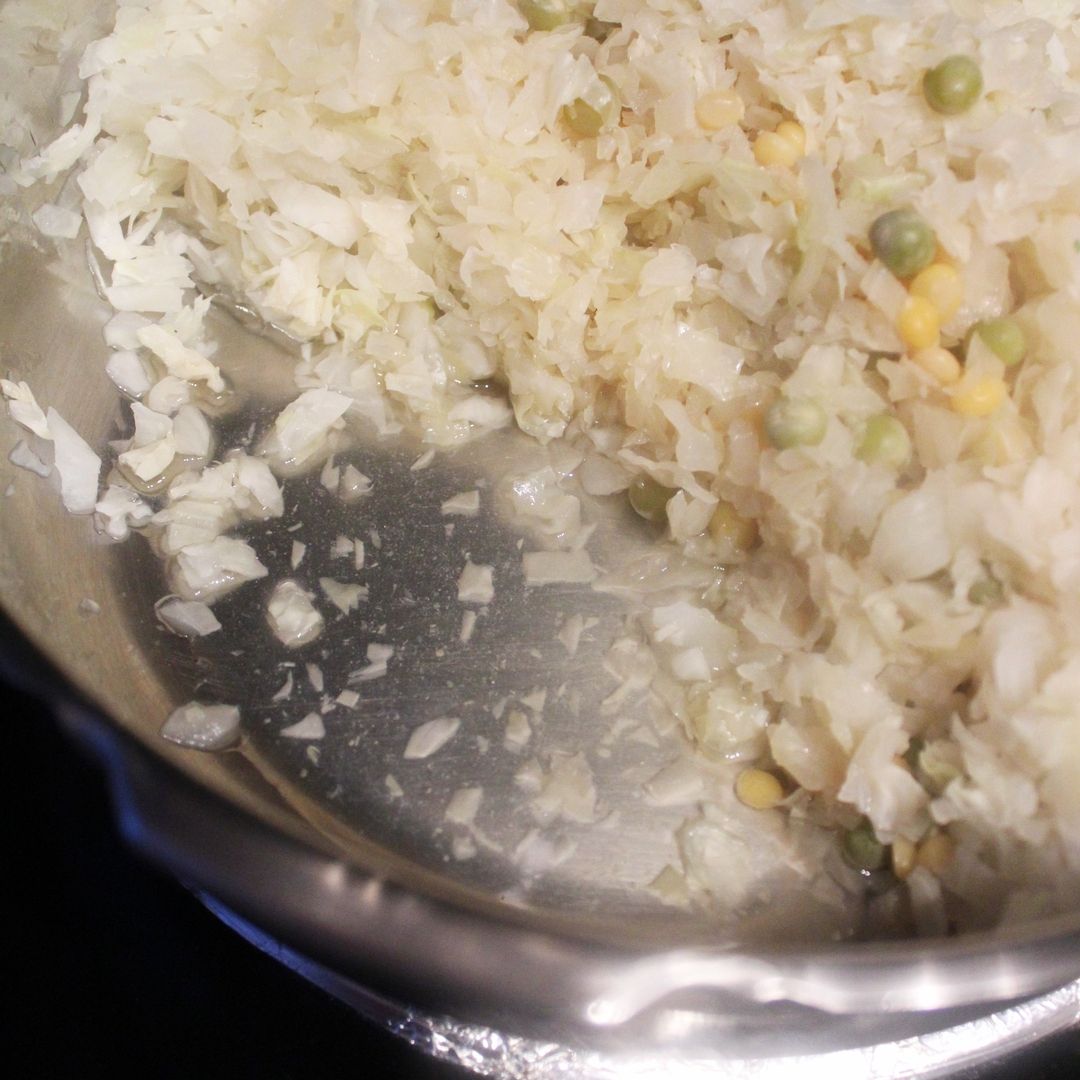
5. Let the pressure reduce naturally and then open the cooker and drain the cabbage to discard the excess water.
Step 3:
- Heat some oil in a frying pan. When the oil is nice and hot, add in the mustard seeds, cumin seeds, short red chili and, urad dhal. Fry them for a second or until the urad dhal is golden.
2. Reduce the heat, add in the curry leaves and green chilies. Fry them for 2 seconds.
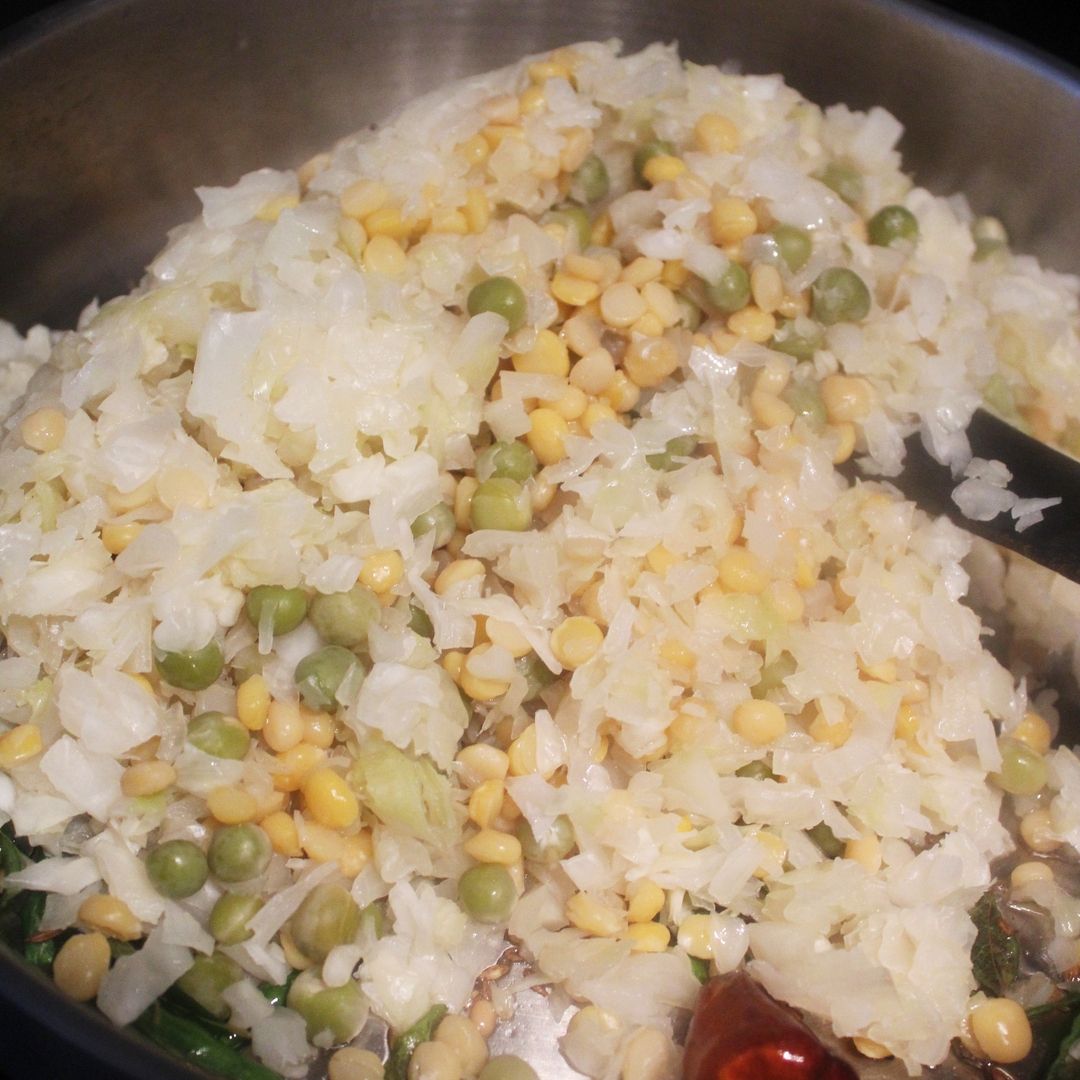
3. Add in the cooked cabbage, dhal and green peas to the pan and mix well for 3 minutes. Taste the cabbage and adjust the seasoning.
4. Finally, add in the finely grated coconut and Cabbage Poriyal for three more minutes. Turn off the stove serve the cabbage poriyal with kara kuzhambu, rasam rice, tomato rice.
Note:
- If you don’t have a pressure cooker, cook the cabbage and peas in a vessel. You may need one more cup of water then, the rest of the steps are the same.
- Are you in the market for the best pressure cooker, please consider this option.